
Best Blenders for Dysphagia Cooking: Which IDDSI Level Can Each Achieve?

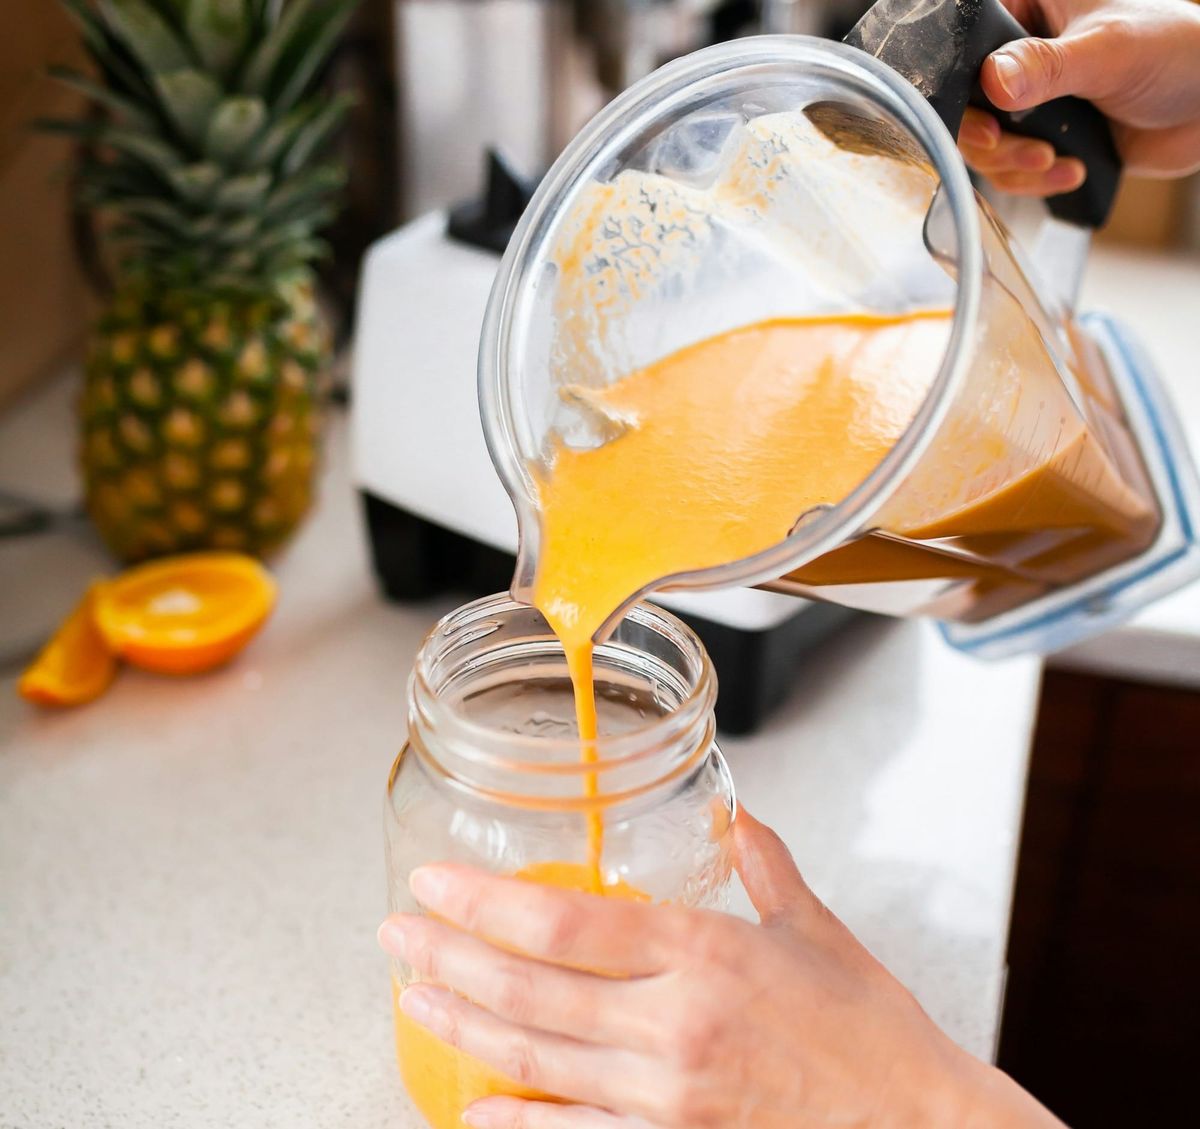
The first blender I used after my mother's dysphagia diagnosis was a stick blender I already had in the kitchen. It worked for some things. For Level 3 chicken — completely smooth, no fibres, pourable — it didn't work at all. I spent weeks thinking I was hitting the right consistency because it looked smooth. The spoon tilt test eventually told me otherwise.
The right blender for dysphagia cooking isn't just a convenience decision. It's a safety decision. Not all blenders can achieve every IDDSI level, and using the wrong one for the job produces a result that looks correct but tests wrong — with real clinical consequences for the person eating it.
This guide explains which blender can achieve which IDDSI level, what each product is actually like to use in a daily caregiving context, and the essential companion equipment that even the best blender can't replace.
The Most Important Table in This Guide
This is the table that doesn't exist anywhere else in dysphagia content — which IDDSI food texture level each type of blender can reliably achieve:
| Blender Type | IDDSI Level 5 Minced & Moist | IDDSI Level 4 Puréed | IDDSI Level 3 Liquidised |
|---|---|---|---|
| Stick / immersion blender | ✅ Reliable | ⚠️ Inconsistent — depends on food type | ❌ Cannot achieve for most proteins |
| Mid-range countertop (Ninja) | ✅ Reliable | ✅ Reliable for most foods | ⚠️ Achievable with sieve for some foods |
| High-powered countertop (Vitamix) | ✅ Reliable | ✅ Reliable for all foods | ✅ Reliable with fine sieve |
| Food processor | ✅ Reliable | ⚠️ Inconsistent — leaves texture | ❌ Not appropriate |
| Potato ricer / food mill | ✅ For soft vegetables and potato | ✅ For soft vegetables and potato | ❌ Not appropriate |
The critical note on Level 3: No blender alone achieves Level 3 for protein — even a Vitamix. Level 3 meat or fish requires blending AND passing through a fine mesh sieve to remove fibres that survive even high-powered blending. The sieve is not optional. This is covered in full in the companion equipment section below.
Why Blender Power Matters for IDDSI Levels
The IDDSI Level 4 (Puréed) standard requires smooth food, with no lumps; is not firm or sticky; requires no chewing; and holds shape on a spoon. Level 3 (Liquidised) requires the same smoothness but at a flowing consistency.
The difference between a standard stick blender and a high-powered countertop blender is not just speed — it's the ability to completely break down the fibrous structure of proteins. Chicken breast, beef, and fish all contain muscle fibres that a low-powered blender will chop into smaller pieces but not eliminate. The result looks smooth but has a detectable graininess that fails the Level 4 spoon tilt test and, more importantly, represents a texture that is not appropriate for the prescribed IDDSI level.
A good blender is a restaurant-quality high-speed blender that gets food completely smooth with no lumps — and that standard is what shapes the recommendations below.
The Three Types of Blenders
Budget: Immersion / Stick Blender
Price range: Under $50
Best for: IDDSI Diet Level 5 (Minced and Moist) and Level 6 (Soft and Bite-Sized Diet) food preparation, smooth soups, porridge, and fruit purées.
What it does well:
A stick blender is the most practical dysphagia kitchen tool for everyday use when preparing food for Diet Levels 5 and 6. It blends directly in the pot — no transferring hot soup to a countertop blender, no burns from hot liquid in a jar. It's quick to wash, takes up minimal storage space, and handles smooth soups, porridge, lentil dal, and soft vegetable purées with no difficulty.
For smooth soups at Level 3 consistency — butternut squash, tomato, pea — a good stick blender combined with a fine mesh sieve produces a reliably correct result. The blender handles the smooth vegetables; the sieve catches any fibre or skin particles the blender left behind.
What it cannot do:
Meat at Diet Level 4. Fish at Level 4 consistently. Any Level 3 protein reliably. These foods contain muscle fibres that a stick blender chops but cannot eliminate. The result looks smooth but feels grainy on the spoon tilt test — and fails Level 4 criteria.
If your loved one is on Level 4 and the primary protein source is chicken, fish, or meat, a stick blender is not sufficient as the only blending tool.
IDDSI level summary:
- Level 6 Soft and Bite-Sized Diet: ✅
- Level 5 Minced and Moist Diet: ✅
- Level 4 Puréed (vegetables, legumes, porridge): ✅
- Level 4 Puréed (meat and fish): ⚠️ inconsistent — verify with spoon tilt test every time
- Level 3 Liquidised (soup and vegetable-based): ✅ with fine sieve
- Level 3 Liquidised (meat and fish): ❌
Who needs this: Anyone primarily managing Level 5 or 6 — or Level 4 with a protein-forward approach using eggs, legumes, smooth hummus, and dairy rather than blended meat.
Who needs to go further: Anyone where Level 4 or Level 3 blended meat or fish is a regular part of the diet.
Mid-Range: Ninja Professional Countertop Blender
Price range: $80–$130
Best for: IDDSI Level 4 Diet (Puréed) cooking across all food types including meat, fish, and vegetables. Some Level 3 work with a fine sieve.
What it does well:
The Ninja Professional is the practical workhorse of dysphagia cooking — powerful enough to handle most Level 4 proteins when combined with adequate liquid and a fine sieve, but at a price point that doesn't require a significant financial commitment.
With a 1100-watt motor and Total Crushing blades, the Ninja genuinely pulverises rather than just chops. Chicken thigh cooked until tender, blended in the Ninja pitcher with warm stock for 60 seconds, produces a smooth Level 4 result that holds its shape on the spoon — for most batches, most of the time.
The word "most" matters. The Ninja is reliable for Level 4, but it has limits. Very fibrous meats — stringy pulled pork, lamb with significant connective tissue — may still leave detectable texture even after thorough blending. For these, passing through a fine sieve after blending is the correct protocol regardless of blender power.
The 72oz pitcher is the right size for batch cooking — you can blend a full portion of chicken and vegetables in one pass and refrigerate or freeze portions. This is the most practical efficiency gain in the whole dysphagia cooking workflow: batch cooking and portioning save time and reduce the daily preparation burden significantly. The portion containers section below covers how to store and label batches.
IDDSI level summary:
- Level 6 Soft and Bite-Sized Diet: ✅
- Level 5 Minced and Moist Diet: ✅
- Level 4 Puréed (vegetables, legumes, porridge, fish): ✅ reliable
- Level 4 Puréed (meat): ✅ reliable — pass through fine sieve to confirm
- Level 3 Liquidised (vegetable soups and fruit-based): ✅ with fine sieve
- Level 3 Liquidised (meat and fish): ⚠️ sometimes achievable with sieve — verify every time
Who needs this: Anyone where Level 4 is the primary food texture, batch cooking is part of the routine, and consistent smooth results across meat, fish, and vegetables are required. The right blender for most Level 4 home caregiving situations.
Practical note: The Ninja pitcher has one consistent limitation — it's harder to clean than a stick blender. The blade assembly requires careful cleaning with a brush rather than simply pulling out a blending arm. Factor this into the daily routine — a blender that's slightly slower to clean but produces consistently better results is a better clinical choice than a fast-to-clean one that doesn't achieve the level reliably.
Premium: Vitamix Blender
Price range: $350–$500+
Best for: IDDSI Diet Level 3 and Level 4 across all food types. The only consumer blender that consistently eliminates protein fibre without sieving for most ingredients.
What makes it different:
The Vitamix is in a different category from the other blenders in this guide — not just in price but in what it physically does to food. At speeds of up to 37,000 RPM, the Vitamix doesn't just blend food — it eliminates the cellular structure of ingredients that would survive any standard blender. This is the blender that hospital programmes for dysphagia and tube feeding have specifically partnered with. The Vitamix is a huge fan among dysphagia dietitians specifically because it gets food completely smooth with no lumps. It's been used in Vitamix's own hospital charity programme for children with feeding and swallowing challenges.
For Level 4 meat — chicken thigh, poached fish, slow-cooked beef — the Vitamix produces a consistently smooth result that most other blenders cannot. For Level 3 meat — where the food must pour slowly and flow through a fork — the Vitamix combined with a fine sieve is the only reliable home option.
The honest case against buying a Vitamix:
The Vitamix is a significant financial commitment. For most caregivers managing Level 5 or Level 6 Diet, it is more blender than the situation requires — the Ninja handles those levels reliably at a third of the cost. The Vitamix earns its price specifically for Level 3 and Level 4 meat and fish, and for anyone where consistency at these levels is a daily clinical priority.
If your loved one is on Level 5 or 6, buy the Ninja. If your loved one is on Level 3 or Level 4 with meat or fish as a regular daily protein, the Vitamix's consistency makes it worth the investment.
IDDSI level summary:
- Level 6 Soft and Bite-Sized Diet: ✅
- Level 5 Minced and Moist Diet: ✅
- Level 4 Puréed (all food types): ✅ most reliable of any consumer blender
- Level 3 Liquidised (vegetable and fruit-based): ✅ with fine sieve
- Level 3 Liquidised (meat and fish): ✅ with fine sieve — the only consumer blender that achieves this reliably
Practical note: The Vitamix container is self-cleaning — add warm water and a drop of dish soap, run on high for 30 seconds, rinse. This is a meaningful practical advantage in a caregiving context where equipment cleaning is one more daily task.
Essential Companion Equipment
No blender — including the Vitamix — replaces the equipment below for specific IDDSI tasks. These are not optional extras. They are the tools that bridge the gap between what a blender produces and what the IDDSI level requires.
Fine Mesh Sieve — The Most Important Item in This List
Price range: $15–$30
This is the single most important piece of dysphagia kitchen equipment after the blender itself — and the one most often skipped.
Blending food breaks it down but does not eliminate all fibrous material. Muscle fibres from meat and fish, fruit and vegetable skins and seeds, legume husks — all survive blending to some degree regardless of blender power. Passing the blended food through a fine mesh sieve removes what the blender left behind and produces a genuinely smooth result.
Who must use it:
- Anyone cooking Level 3 Liquidised food — every time, no exceptions
- Anyone cooking Level 4 Puréed meat or fish — every time
- Anyone blending fruit with seeds (raspberry, strawberry, kiwi)
- Anyone blending vegetables with husks (peas, corn, tomatoes)
What to look for: Stainless steel mesh rather than plastic — the mesh is finer and more durable. A wide rim that rests stably on a bowl. Dishwasher safe. The finer the mesh, the smoother the result — look for approximately 50-100 mesh density.
How to use it: Blend the food first, then push it through the sieve using the back of a spoon or a silicone spatula. What passes through is safe to serve. What stays in the sieve is discarded. The process takes 2–3 minutes and is not negotiable for Level 3 and Level 4 protein.
Food Mill or Potato Ricer — For Level 4 Diet Without a Powered Blender
Price range: $25–$50
A food mill or potato ricer is the non-powered alternative for specific Level 4 foods — primarily potato, sweet potato, root vegetables, and soft-cooked legumes. It produces a smooth, lump-free result for these foods that is often better than a blender — blenders can overwork starchy vegetables and produce a gluey, gummy texture. A potato ricer or food mill produces a consistently smooth, light Level 4 result without that risk.
When to use it instead of a blender:
- Mashed potato for Level 4 — always use a ricer rather than a blender
- Sweet potato, parsnip, carrot — cook until soft and pass through the mill
- Soft-cooked legumes — butter beans, cannellini beans — pass through the mill for a smoother result than blending
When it doesn't replace a blender:
- Meat and fish — the food mill cannot process proteins
- Liquid-based foods — soups, custard, porridge — use the blender
- Level 3 foods — the food mill does not produce a flowing consistency
The potato ricer is also the fastest way to prepare mashed potato for Level 4. Cooked potato pushed through the ricer, butter and warm milk added, verified with the spoon tilt test — under five minutes. This is a daily task worth optimising.
Kitchen Thermometer — The Overlooked Safety Tool
Price range: $15–$25
IDDSI consistency changes with temperature — and this is one of the most consistent sources of Level 3 and Level 4 errors at home.
Starch-based porridges (oatmeal, semolina, congee) thicken significantly as they cool — a Level 3 result at 65°C may be Level 4 by the time it reaches the table at 45°C. Starch-based thickened drinks behave the same way. Level 4 polenta holds its consistency across temperatures — but Level 3 soups can shift by a full level between preparation and serving.
The IDDSI protocol specifies testing at serving temperature, not preparation temperature. A kitchen thermometer makes this practical — check the temperature, then test with the spoon tilt test or syringe test. If the temperature has dropped significantly since testing, retest.
What to look for: An instant-read digital thermometer with a probe — not an infrared surface thermometer, which doesn't measure the temperature of the food interior accurately. Waterproof. Dishwasher-safe probe tip. Response time under 5 seconds.
How to use it in dysphagia cooking:
- Prepare the food to the target IDDSI level
- Check the temperature — if above 60°C, allow to cool
- Check the temperature again at approximately 50°C
- Perform the IDDSI test (spoon tilt or syringe) at this temperature — this is the serving temperature for most foods
- Serve within 5–10 minutes of testing
Portion Containers — For Batch Cooking and Daily Efficiency
Price range: $20–$35 for a set
The most practical efficiency change in Level 3 and Level 4 cooking is not a better blender — it's a batch cooking routine. Prepare larger quantities two or three times per week, portion into individual servings, refrigerate or freeze.
Portion containers make this work. The right containers are:
- The right volume — approximately 200–300ml per portion for a side dish or 400–500ml for a main
- Clearly labelled — the IDDSI level, the food, and the date must be visible at a glance
- Freezer safe — for anything prepared more than 48 hours ahead
- Microwave safe — for reheating directly in the container
The labelling system that works in practice:
Use a permanent marker or adhesive labels directly on the container lid. Write: IDDSI level, food name, date prepared. A Level 4 chicken thigh in gravy prepared on Monday should be labelled "L4 — Chicken — Mon". This takes five seconds and prevents any ambiguity when multiple family members or professional carers are involved in mealtimes.
The reheating rule: Always reheat gently over low heat with a small amount of added liquid — or in the microwave at 50% power in 30-second intervals, stirring between each. Then retest with the spoon tilt test before serving. Reheating changes consistency. Always verify before serving, not before reheating.
The IDDSI Testing Step — Before Every Serving
Having the right equipment matters. Verifying the result matters equally. Every dish prepared for a Level 3 or Level 4 dysphagia patient should be tested before serving — not once when you first try a recipe, but every time. Our IDDSI Food and Liquid Levels Guide covers this distinction in full.
The spoon tilt test (Level 4): Load a teaspoon and tilt sideways. Level 4 slides off in one slow, cohesive movement. If it stays stuck — too thick, add warm liquid. If it pours — below Level 4, reduce liquid or cook further.
The fork drip test (Level 3): Dip a fork and lift horizontally. Level 3 drips slowly in separate dollops through the prongs. Pours freely — below Level 3. Barely drips or stays — Level 4 or above.
The syringe flow test (Levels 0–3 liquids): The validated method for thickened drinks. Our syringe flow test guide covers the full process step by step.
Temperature check: Always test at serving temperature. Check with the thermometer, then test consistency.
Quick Reference: What to Buy and When
| Situation | Buy This | Skip This |
|---|---|---|
| Primarily Level 5–6, occasional Level 4 vegetables | Stick blender + fine sieve | Vitamix — more than you need |
| Level 4 daily, including meat and fish | Ninja + fine sieve + potato ricer | Vitamix unless budget allows |
| Level 3 daily, including meat and fish | Vitamix + fine sieve | Ninja — not reliable enough for Level 3 protein |
| Level 4 potato and root vegetables | Potato ricer | Blender — ricers produce better mash |
| All levels — always needed | Fine sieve + kitchen thermometer + portion containers | Nothing — all essential |
Frequently Asked Questions
Can I use a food processor instead of a blender for Level 4?
A food processor chops rather than blends — it produces minced food appropriate for Level 5 but rarely achieves the completely smooth Level 4 standard for proteins without additional blending. Use a food processor for Level 5 mincing and a blender for Level 4 puréeing. They serve different purposes and work best together.
Does the Ninja achieve Level 3 consistently?
For vegetable-based soups and fruit purées — yes, with a fine sieve. For meat and fish at Level 3 — sometimes, depending on the specific food and cooking method, but not reliably enough to depend on for daily use without verifying every batch with the syringe test. If Level 3 meat is a daily requirement, the Vitamix is the more reliable choice.
Is a Vitamix worth the cost for dysphagia cooking?
For Level 3 daily management including meat and fish — yes, the consistency advantage justifies the investment. For Level 4 or Level 5 management — the Ninja produces comparable results for most foods at a fraction of the cost. The decision point is Level 3 protein specifically.
Why do I need a fine sieve if I have a high-powered blender?
Even a Vitamix does not eliminate all fibrous material from meat and fish. Muscle fibres, connective tissue, and fine skin particles survive high-powered blending and are only removed by passing through a fine mesh sieve. The sieve is not a substitute for a good blender — it is the step after blending that confirms Level 3 or Level 4 is genuinely achieved.
Can I batch cook and freeze Level 3 and Level 4 food?
Yes — and this is the most effective way to reduce the daily preparation burden. Freeze in individual portions, label clearly with the IDDSI level and date, and defrost thoroughly before reheating. Always reheat gently and retest with the appropriate IDDSI test before serving — consistency changes slightly with freezing, defrosting, and reheating.
Does the blender type affect the IDDSI level of porridge or soup?
For smooth soups and porridge, a mid-range stick blender or countertop blender is sufficient — the vegetable fibres in most soups are less resistant than protein fibres. The blender type matters most for protein. For soups, the fine sieve matters more than the blender power — even a stick-blended soup passed through a fine sieve will be smoother than a Vitamix-blended soup that wasn't sieved.
References
IDDSI Framework. (2019, updated 2024). Complete framework and detailed definitions V2.2. https://www.iddsi.org/framework
Cichero, J. A. Y., et al. (2017). Development of international terminology and definitions for texture-modified foods and thickened fluids used in dysphagia management. Dysphagia, 32(2), 293–314. https://doi.org/10.1007/s00455-016-9758-y
Dysphagiadietitian.com. (2023). Dysphagia resources — kitchen equipment. https://dysphagiadietitian.com/dysphagia-resources/
American Speech-Language-Hearing Association. (n.d.). Adult dysphagia (Practice Portal). https://www.asha.org/practice-portal/clinical-topics/adult-dysphagia/